
Badly yellowed headlights aren't just cosmetic. The difference isn't just how the headlights look — restoring that clarity allows the headlights to do their job properly again at night.
These headlights were particularly badly affected by sun exposure. The plastic had yellowed considerably, which didn't just make the vehicle look tired — it had also greatly reduced the effectiveness of the headlights at night.
With minor yellowing, the repair can sometimes be quite simple. A compound with the mini buff and the same roughly 3000-grit cutting paste I use for scratch repairs may be all that's required.
These needed considerably more work.
A word of caution with DIY headlight restorers!
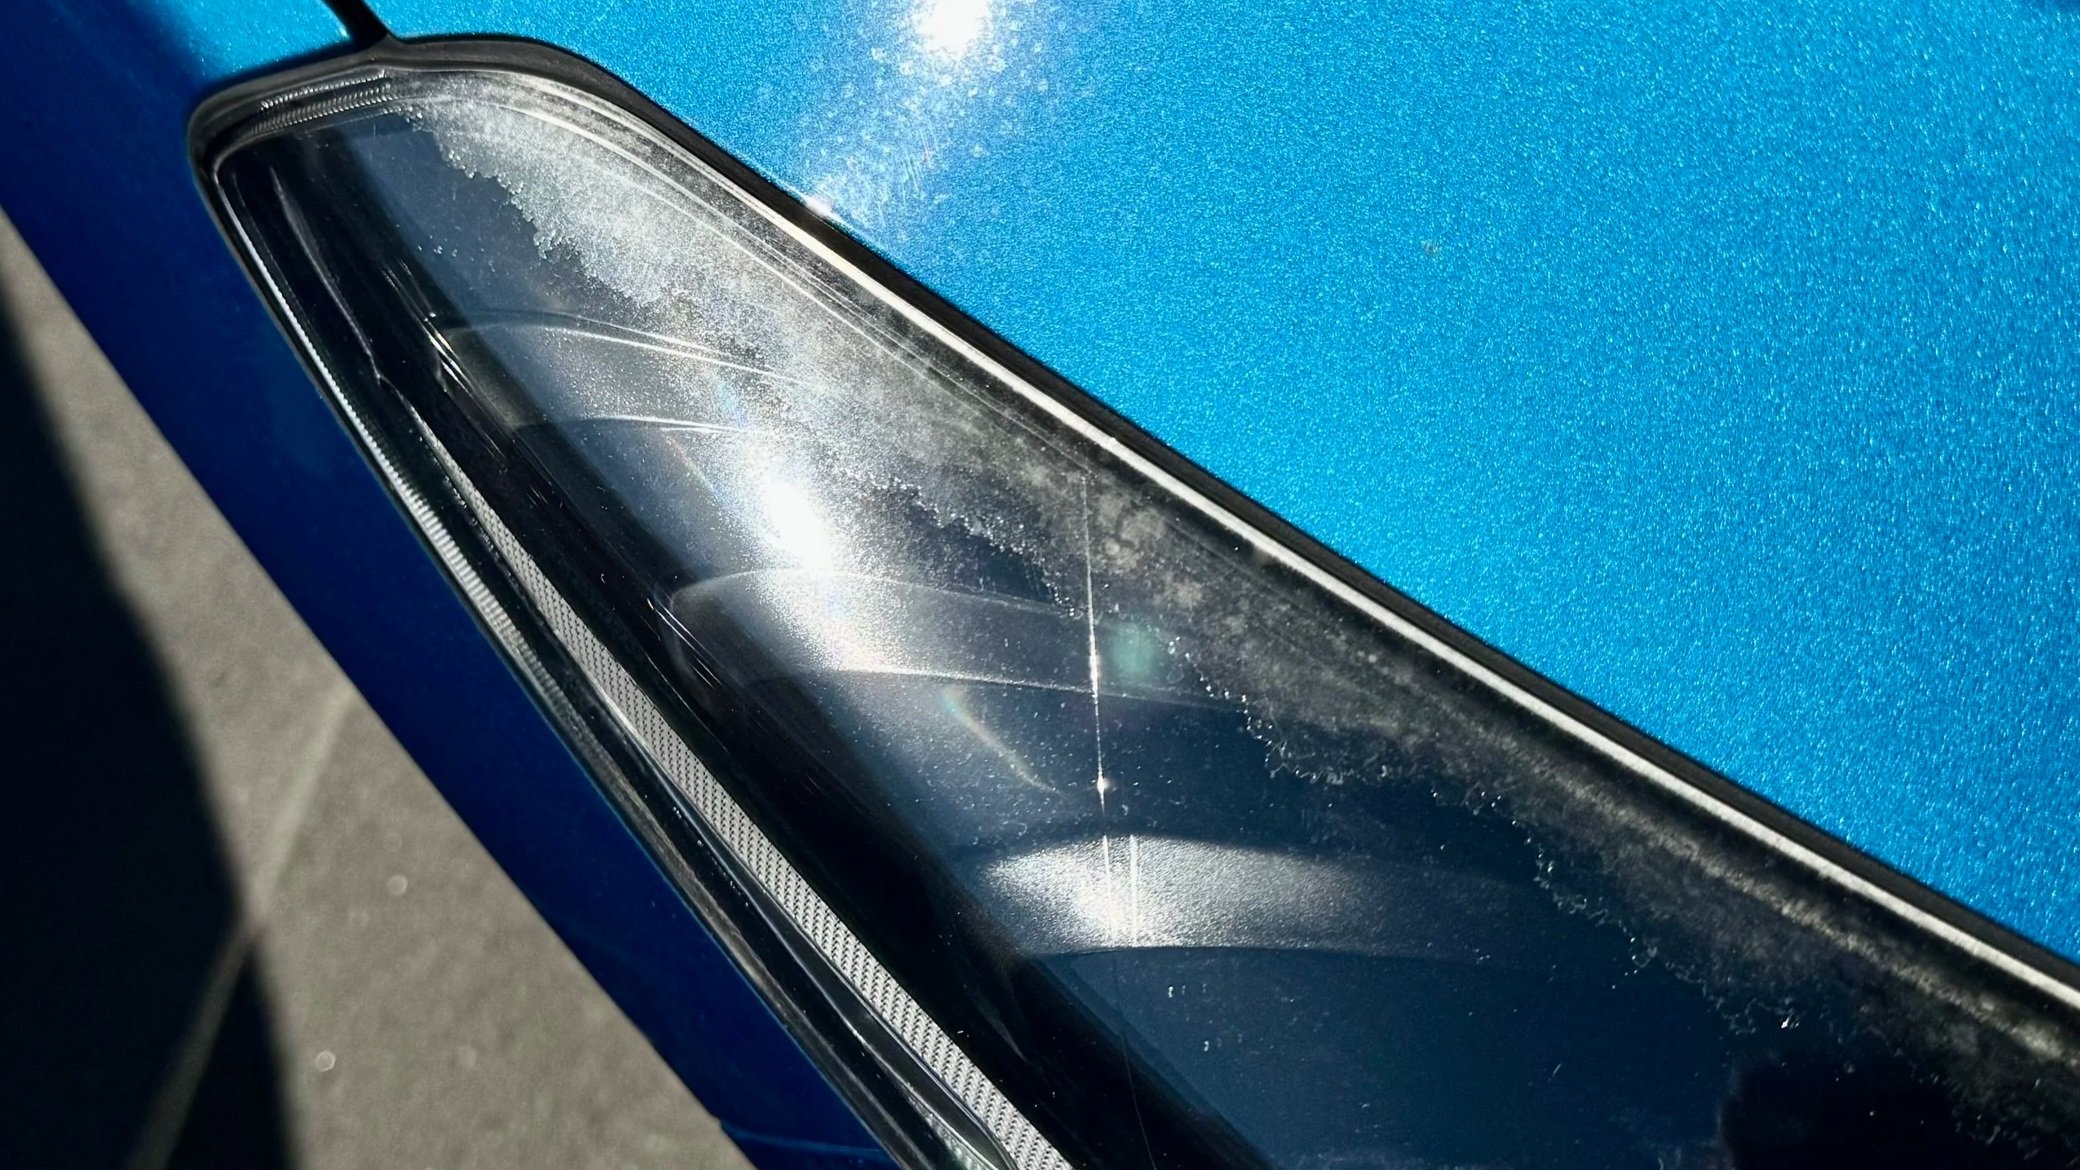
There are plenty of headlight restoration products available that promise a quick and easy result. They can certainly make a yellowed headlight look much clearer immediately, but the way some of these products achieve that result can create another problem.
Rather than evenly refining the damaged surface, these products effectively eat into the plastic, stripping away the sun-damaged layer. Unfortunately, with time the effect weathers again leaving unsightly, uneven clarity. Once this has happens, restoring the headlight properly becomes considerably more difficult.
In many cases I can still make a substantial improvement, but a headlight that's already been treated this way may never achieve the same finish as one that hasn't.
The proper approach.
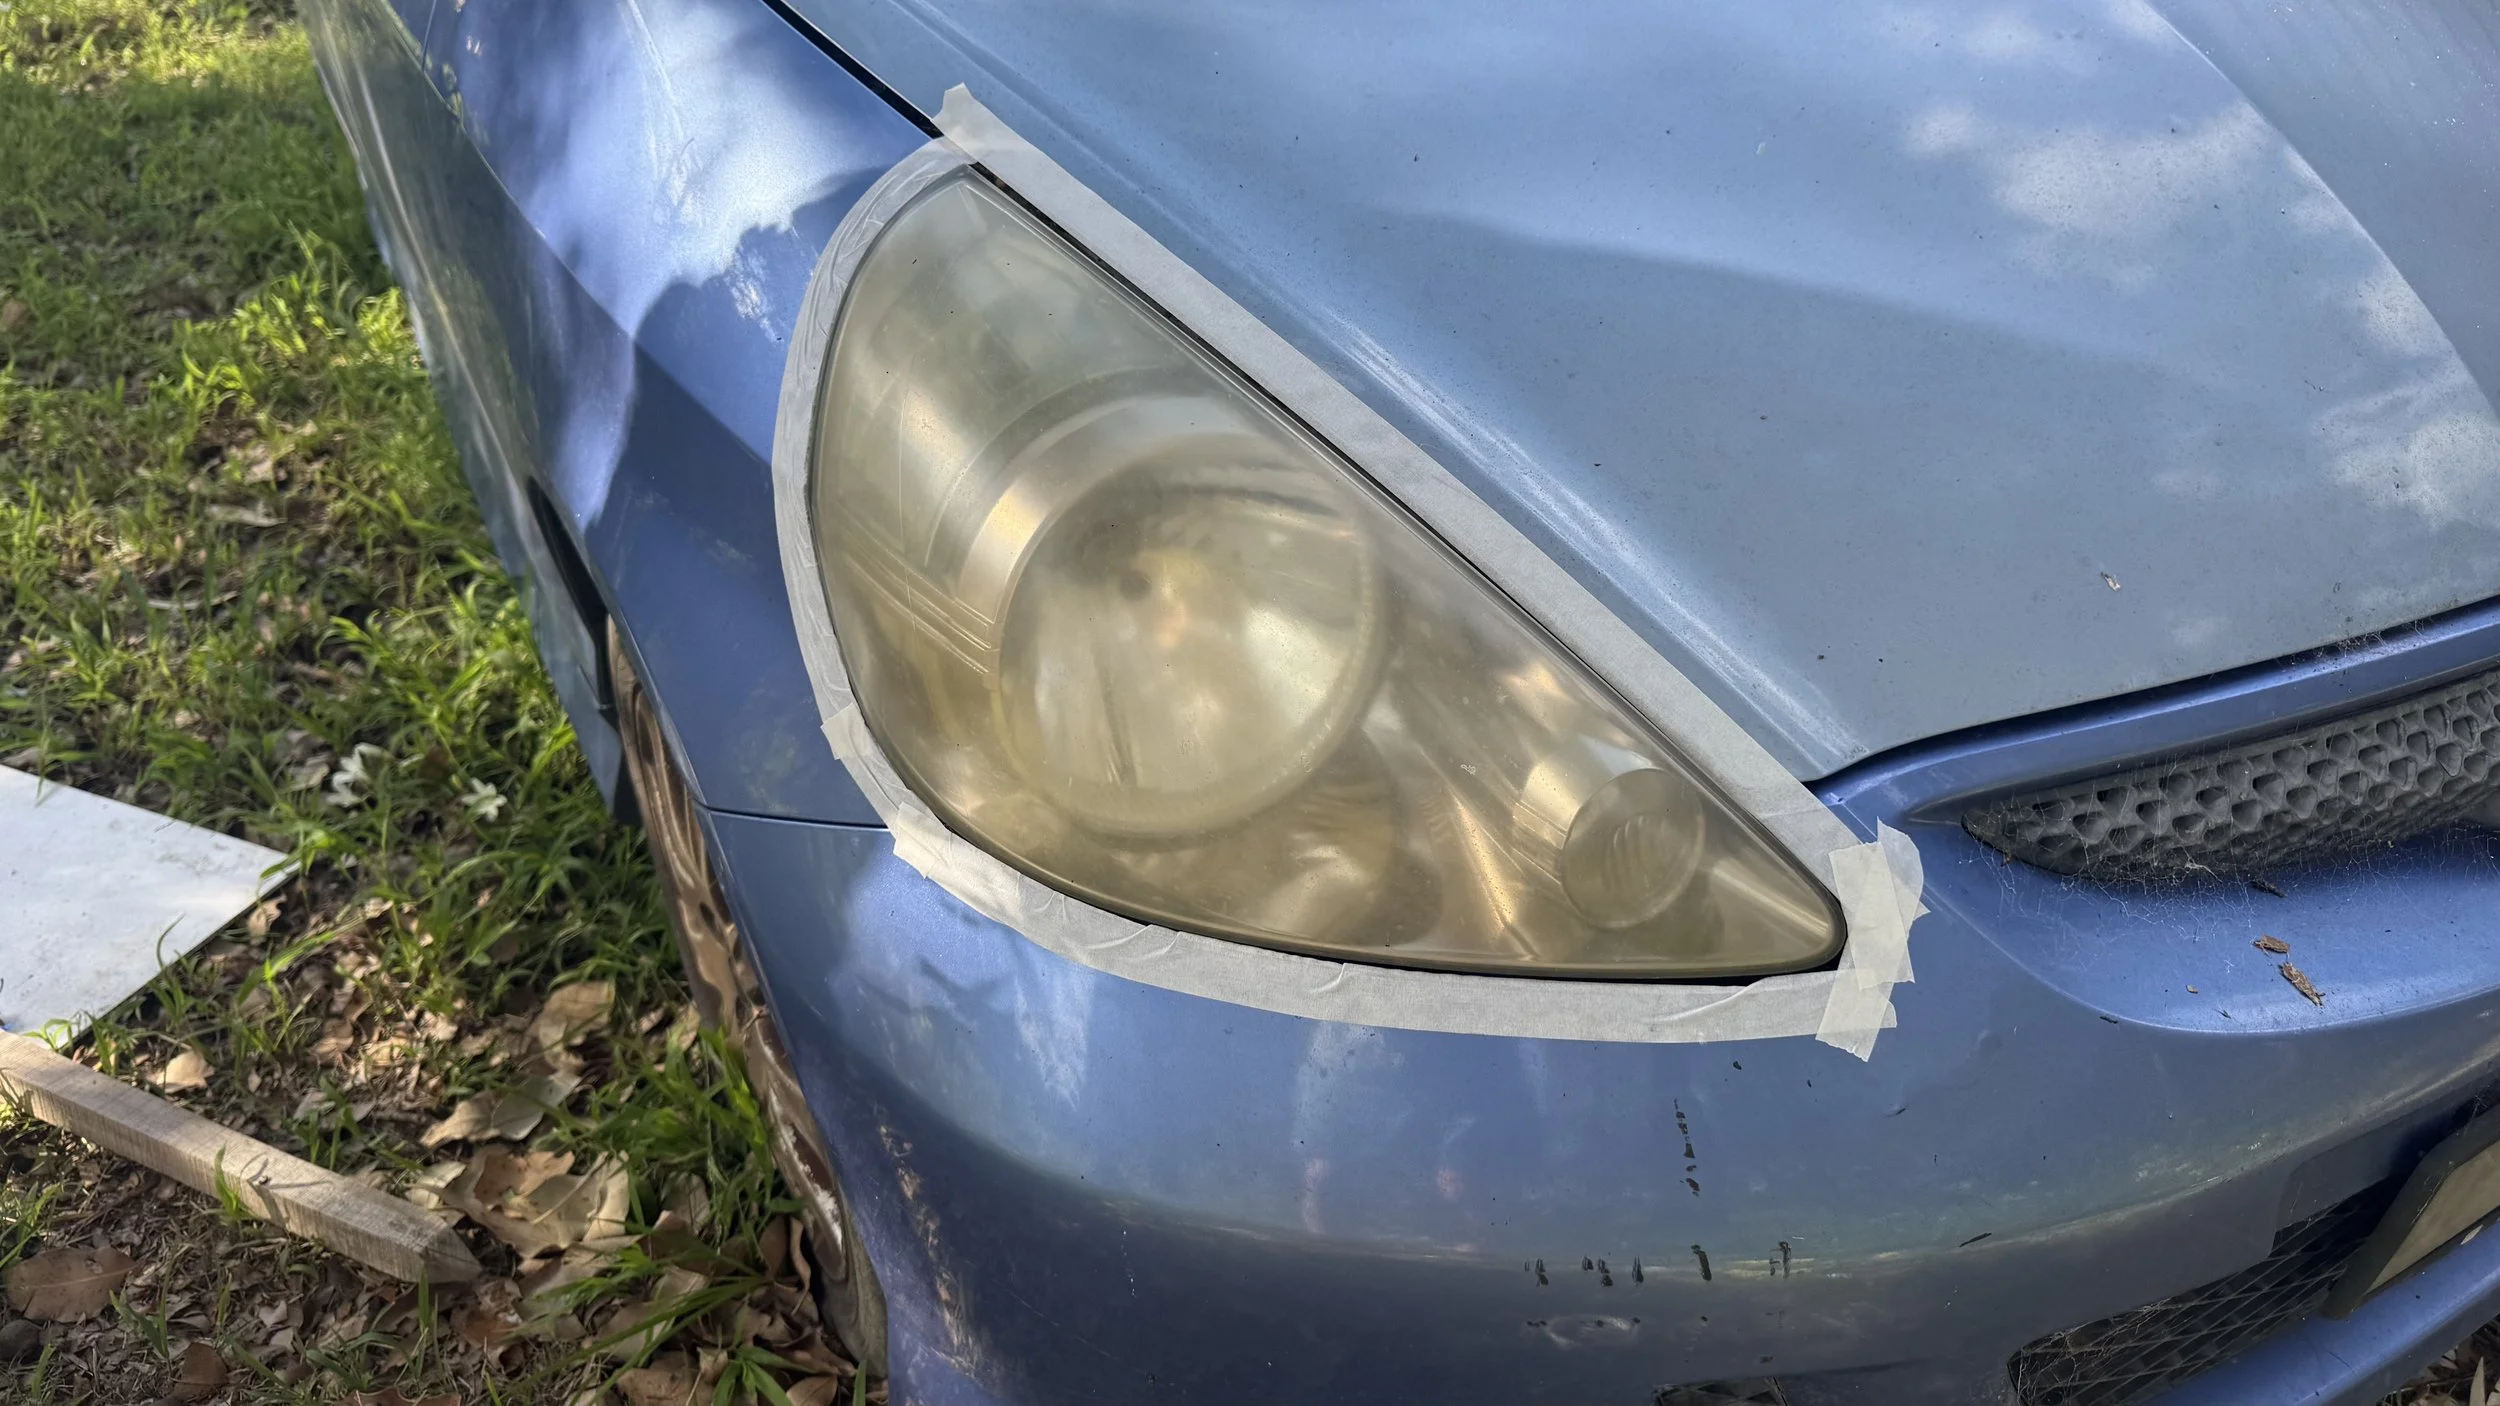
Protecting the surrounding paint
Before any sanding begins, I carefully tape around the entire headlight.
This is an important part of the job because I'm effectively sanding the surface of the headlight. The abrasives that remove the damaged layer from the lens can do serious damage if they come into contact with the surrounding painted panels.
A few minutes spent properly protecting the paint can prevent a very expensive mistake.
Working through the damage
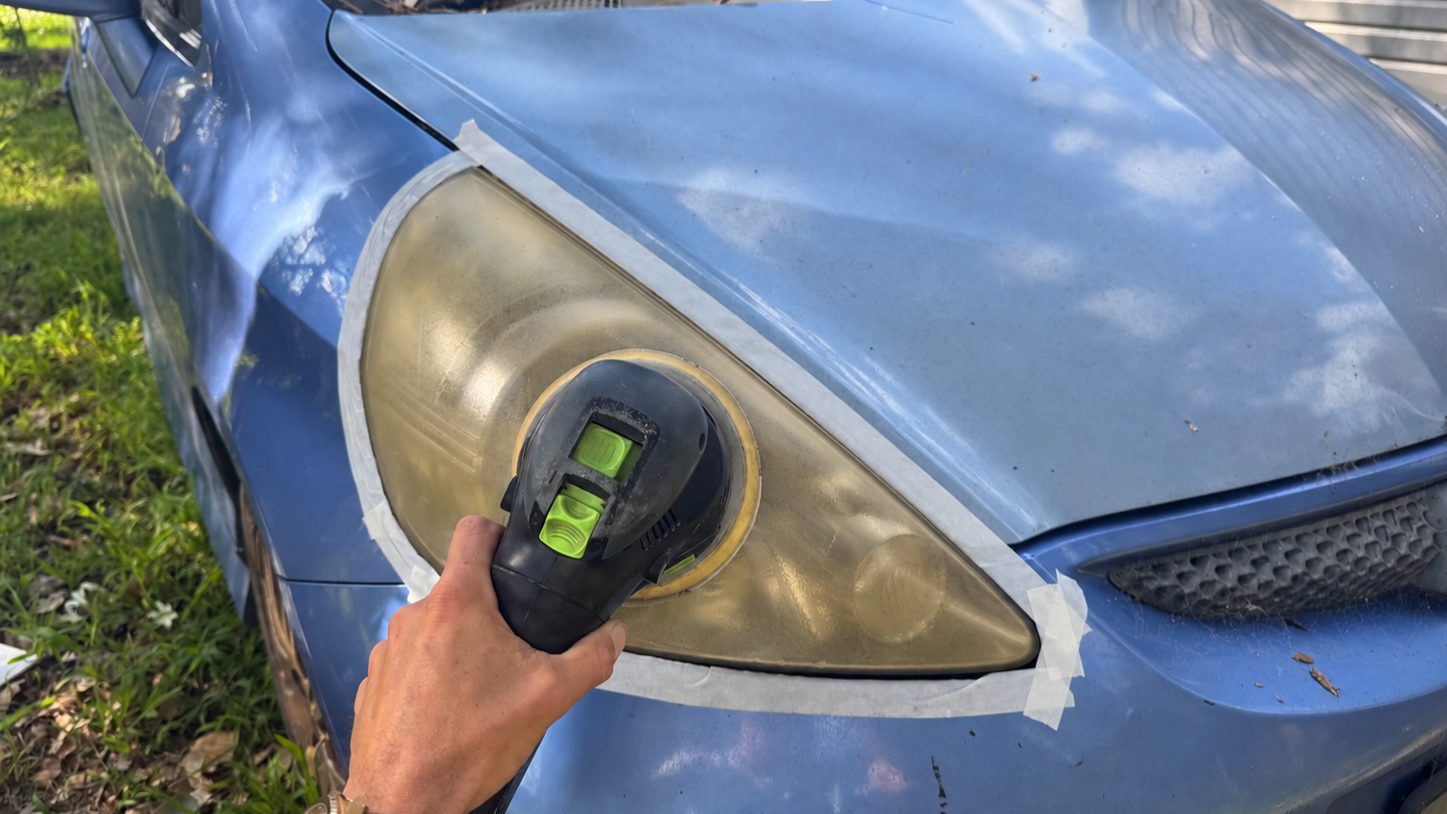
For headlights this badly affected, I use Abralon sanding pads. These are essentially soft, flexible pads with an abrasive face, used with an orbital sander and plenty of water.
Rather than trying to remove all the deterioration in one aggressive step, I progressively work through:
500 grit → 1000 grit → 1500 grit → 2000 grit
Bringing the clarity back
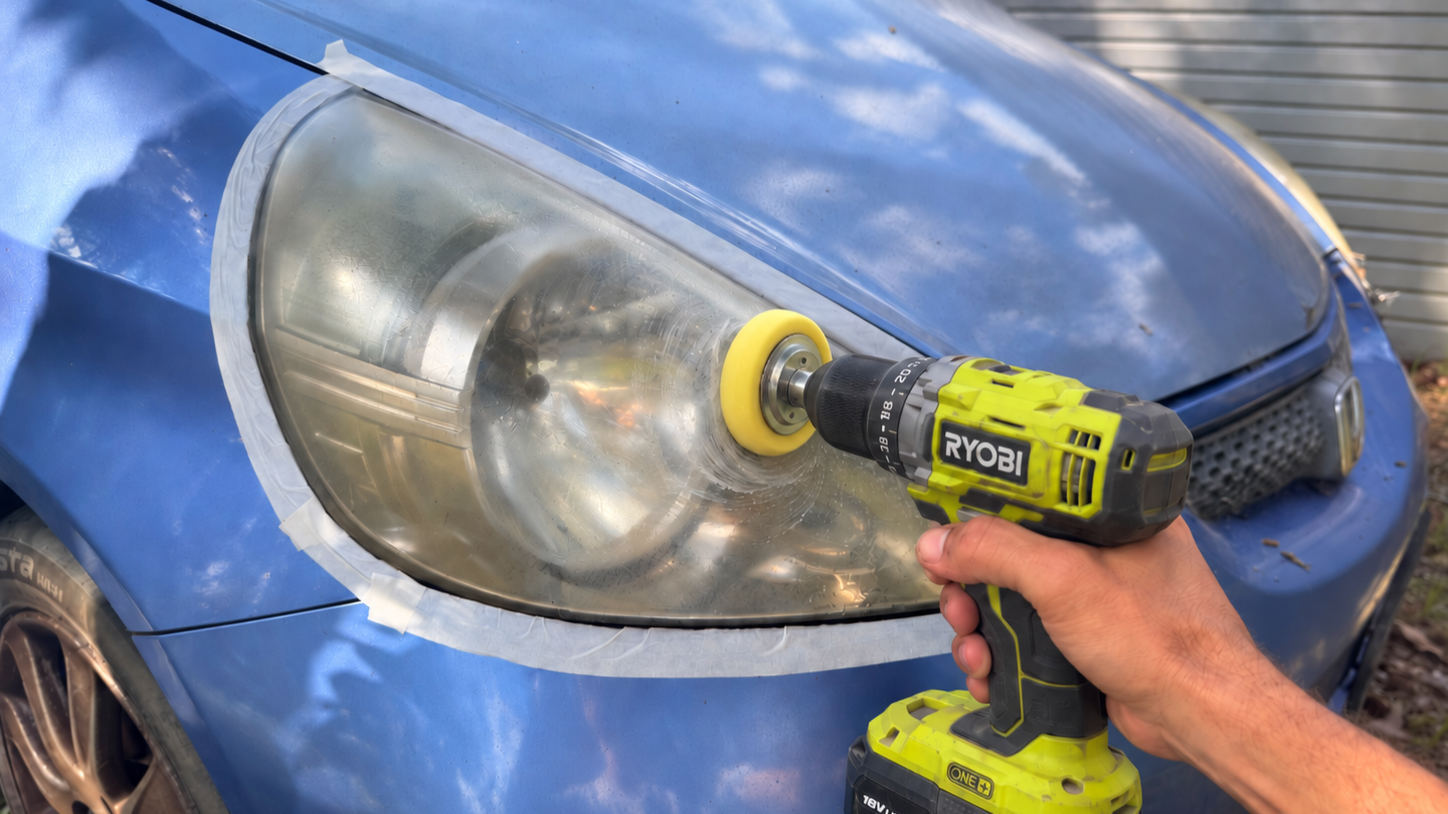
After the final 4000-grit stage, the sanding is finished but the lens still needs its clarity brought back.
I finish the job with the mini buff and compound paste. This removes the fine haze left from sanding and brings the transparency and clarity back.
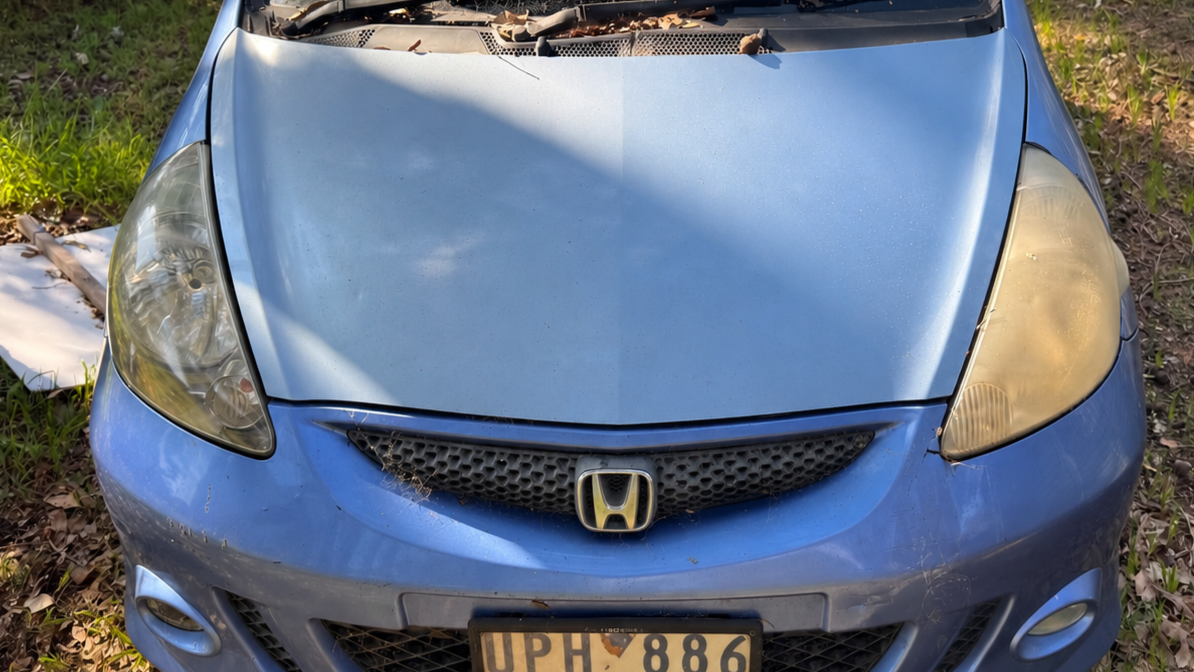
Small repair. Big difference!
A final reminder — clear headlights aren't just about how your car looks. Yellowed and cloudy lenses reduce the amount of light reaching the road, making it harder to see at night. Restoring them is as much about safety as appearance.